
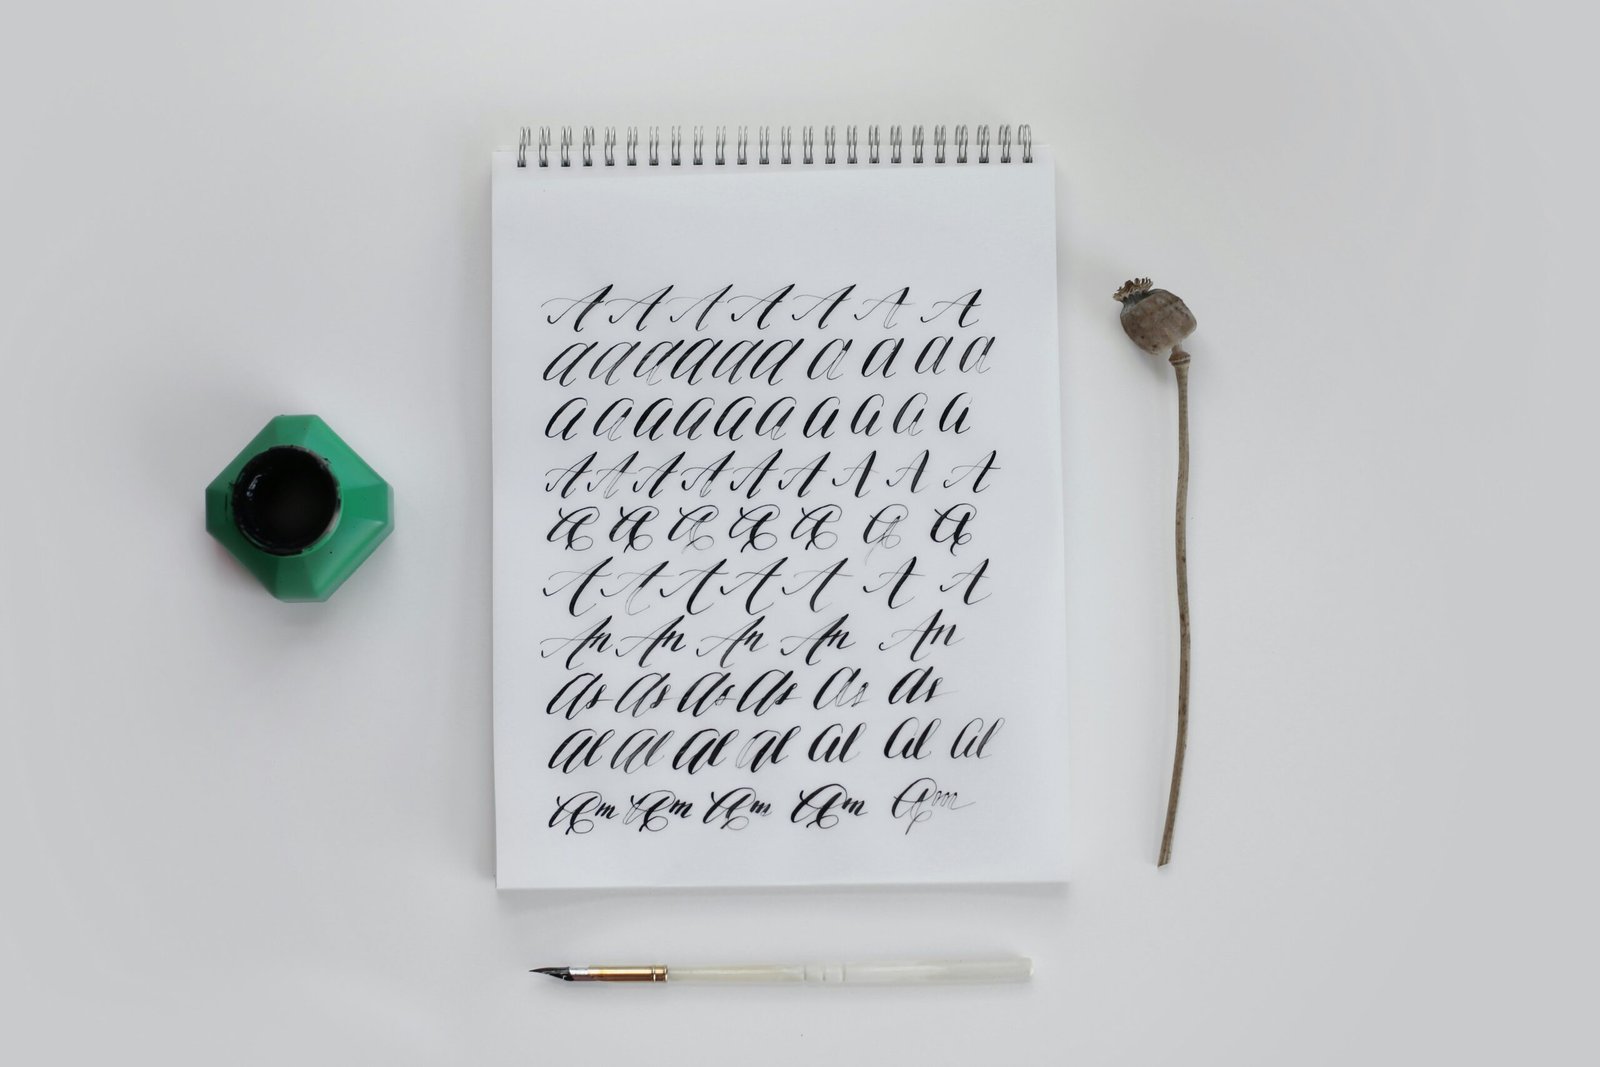
Want to master the art of beautiful handwriting? Discover the 5 best, easy-to-follow ways to learn calligraphy for beginners and start lettering today.
Calligraphy is much more than just fancy handwriting; it is a timeless art form that requires patience, rhythm, and precision. Whether you want to address elegant wedding invitations, design your own greeting cards, or simply start a relaxing new hobby, learning calligraphy is an incredibly rewarding journey.
However, when you look at flawless lettering videos on social media, starting can feel incredibly intimidating. Do you need expensive pens? Do you need perfect handwriting? The answer to both is no. Here are the 5 best ways to learn calligraphy for beginners, designed to take you from a complete novice to a confident letterer.
1. Start With “Faux Calligraphy” (Using a Regular Pen)
The biggest mistake beginners make is buying a $30 brush pen before understanding how calligraphy actually works. The core rule of modern calligraphy is simple: thin upstrokes and thick downstrokes.
You can learn this rule today using a standard ballpoint pen or a pencil through a technique called “Faux Calligraphy” (Fake Calligraphy).
- Step 1: Write a word in your normal cursive handwriting.
- Step 2: Look at the word and identify every time your pen moved downward to form a letter.
- Step 3: Draw a second line parallel to those downward strokes.
- Step 4: Fill in the space between the lines.
Suddenly, your standard handwriting looks like elegant calligraphy! This method trains your brain to understand where the weight of the letters should be before you ever touch a specialized brush pen.
2. Master the 8 Basic Strokes
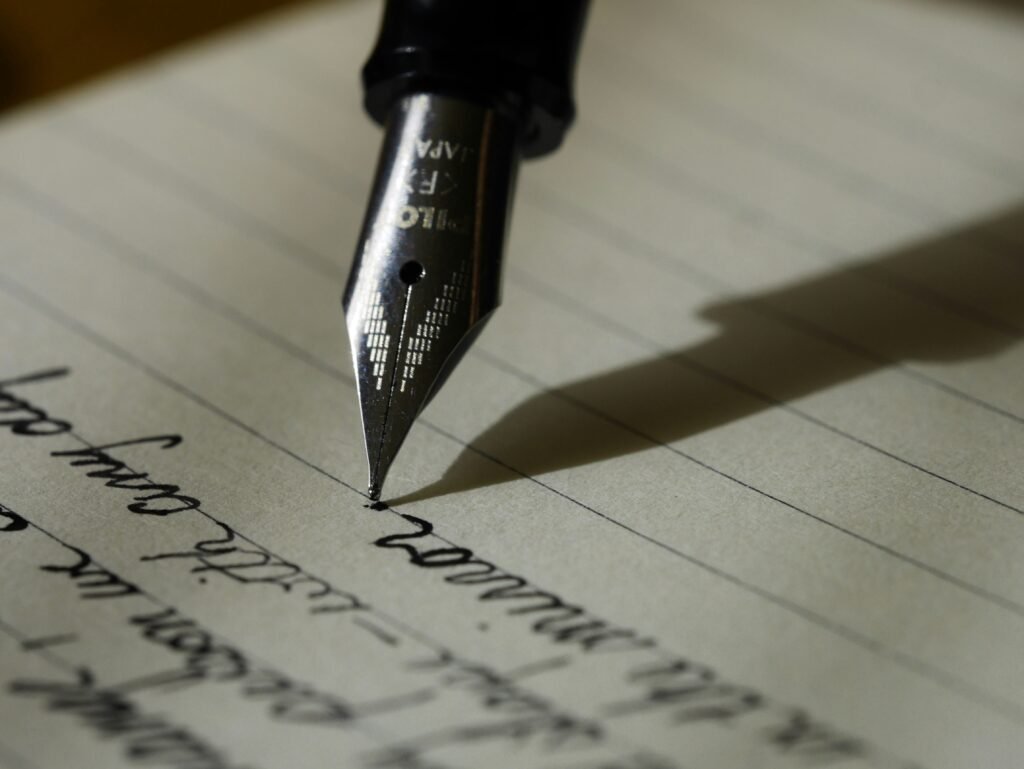
Calligraphy is not about writing letters; it is about drawing shapes. If you try to write the entire alphabet immediately, you will get frustrated. Every single lowercase letter in modern calligraphy is made up of a combination of 8 basic strokes.
Instead of writing words, spend your first few days practicing these foundational strokes:
- The Entry Stroke: A thin, upward curve.
- The Underturn: A thick line down that transitions into a thin line up (like a “U”).
- The Overturn: A thin line up that transitions into a thick line down (like an upside-down “U”).
- The Compound Curve: A continuous wave combining an overturn and an underturn.
- The Oval: The base for letters like ‘a’, ‘o’, and ‘d’.
- The Ascending Loop: Used for tall letters like ‘h’ and ‘l’.
- The Descending Loop: Used for letters that drop below the line, like ‘g’ and ‘y’.
- The Full Pressure Stroke: A straight, heavy line down.
Once your hand builds the muscle memory for these 8 shapes, forming actual letters becomes incredibly easy.
3. Use Free Printable Practice Worksheets
Muscle memory is everything in calligraphy. You cannot learn it just by reading about it; you have to train your hand.
The internet is full of free, printable calligraphy worksheets designed specifically for beginners. Print out a stack of these trace-over sheets. Tracing over perfectly formed letters helps your hand understand the correct angle, pressure, and spacing. When practicing, use a smooth, high-quality paper (like HP Premium32) so your brush pens do not fray or bleed.
4. Watch Step-by-Step Video Tutorials
Calligraphy is a highly visual and physical art. Reading a text guide is helpful, but seeing how a professional holds their pen, the angle of their wrist, and the exact speed at which they write is invaluable.
Platforms like YouTube are goldmines for visual learners. Watching real-time (not sped-up) videos allows you to see how slowly real calligraphers actually write. One of the biggest beginner misconceptions is that calligraphy is done quickly. In reality, it is a slow, deliberate, and meditative process. Lifting your pen between every single stroke is completely normal and highly encouraged.
5. Commit to a 15-Minute Daily Routine
The ultimate secret to mastering calligraphy is consistency over intensity. Sitting down for a stressful three-hour practice session on a Sunday will likely leave your hand cramped and your motivation depleted.
Instead, commit to practicing for just 15 minutes a day. Use this time to drill your basic strokes, trace a worksheet, or write out a short quote. Short, daily sessions build strong neural pathways and muscle memory much faster than long, infrequent sessions. Remember, you are teaching your hand an entirely new way to move.
Final Thoughts: Embrace the Imperfections
When you first begin learning calligraphy, your lines might be shaky, and your spacing might be off. That is perfectly fine! Calligraphy is a journey of continuous improvement. Do not compare your day one to someone else’s year five. Grab a pen, print some worksheets, focus on your basic strokes, and enjoy the relaxing process of creating beautiful art with your own hands.