
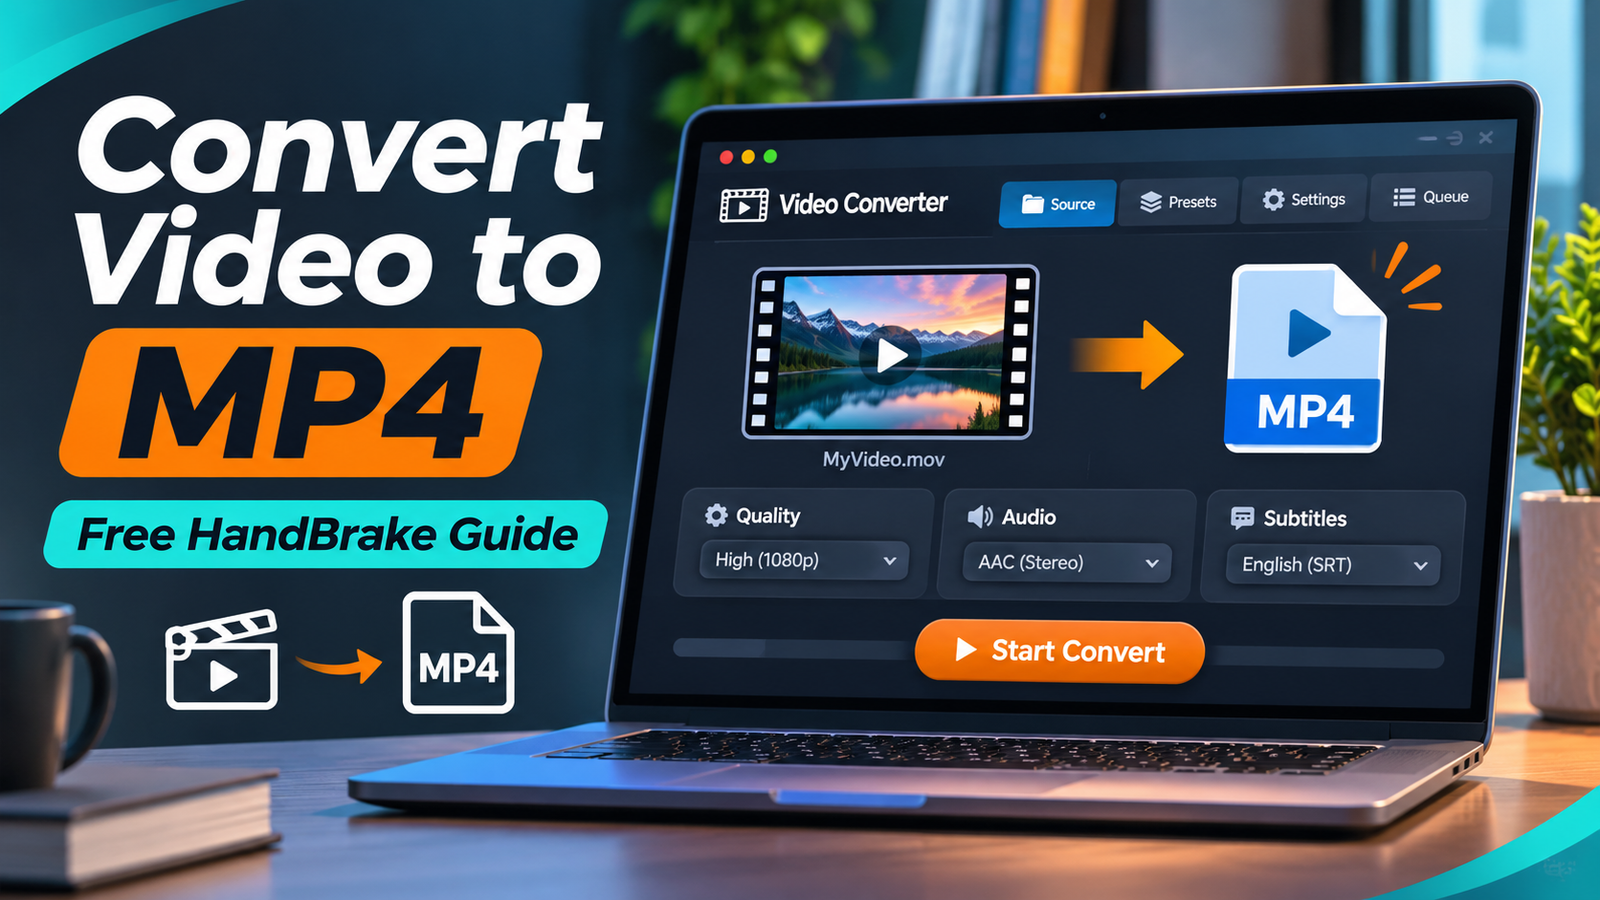
Converting a video to MP4 can make it easier to play, upload, or share, but choosing the wrong settings may reduce picture quality, remove an audio track, or create a file your device cannot open. HandBrake is a free, open-source converter for Windows, macOS, and Linux that provides practical controls without requiring a subscription.
This guide explains a complete conversion, including the settings worth checking before pressing Start Encode. It also shows how to evaluate a realistic example rather than assuming every source needs identical settings.
Before You Start: MP4 Is Not a Video Codec
An MP4 file is a container holding video, audio, subtitles, and related information. H.264, H.265, and AV1 are codecs used to compress the picture inside that container. An MP4 created with an unfamiliar codec can still fail on an older television or editing application.
For broad compatibility, begin with MP4, H.264 video, and AAC audio. H.265 can produce smaller files at comparable visual quality, but decoding support depends on the playback device. HandBrake also supports AV1 encoding, although compatibility and encoding speed require consideration.
Crucially, HandBrake always re-encodes video. It cannot simply replace an MKV or MOV wrapper while copying the original video stream unchanged. Keep your source file because another lossy encode cannot restore detail discarded previously.
Before converting, identify the viewing destination. A file that plays on your laptop may still fail on an older television, especially when its video codec or audio format is unsupported by that device.
Step 1: Download and Install HandBrake Safely
Visit the official HandBrake website at handbrake.fr and select Downloads. At the time of writing, the official download page lists version 1.11.2. Download the installer appropriate for your operating system and processor.
On Windows, choose the x64 installer for most Intel or AMD computers, or ARM64 for supported Qualcomm systems. On macOS, use the provided disk image. Linux users can install the official Flatpak through Flathub. Follow the installation prompts and launch HandBrake.
Avoid download portals promising premium upgrades or special codecs. HandBrake is free and does not require an account. Check the project’s system requirements if installation fails, particularly any required Windows runtime.
Step 2: Open Your Source Video
Select Open Source, choose File, and locate your video. Alternatively, drag it into HandBrake. The application scans the source and displays information such as dimensions, duration, and available tracks.
HandBrake accepts many common sources, including MOV, AVI, MKV, and various camera recordings. However, damaged files and DRM-protected videos may not open. It cannot bypass copy protection.
If several titles appear, select the intended clip and confirm its duration. This matters with disc structures that contain menus, extras, or multiple recordings. For a regular single video, the default title is usually appropriate.
Step 3: Select an MP4 Preset
Open the Presets menu and begin with General > Fast 1080p30 for a conventional 1080p video. HandBrake documents this as a broadly compatible starting point, not a universal best setting.
Presets combine video compression, resolution, frame-rate limits, and audio options. A 1080p30 preset is inappropriate if you must preserve 4K detail or 60-frame-per-second motion. Select a suitable preset for those sources, then inspect the individual settings rather than trusting the name alone.
In the Summary tab, set Format to MP4. Enable Web Optimized if the file will be hosted for progressive playback on a website. This relocates important MP4 metadata; it does not improve image quality or guarantee faster internet speeds.
Step 4: Choose the Video Codec and Quality
Open the Video tab. Choose H.264 (x264) when compatibility matters most. For smaller archives on compatible devices, consider H.265 (x265), accepting potentially slower software encoding.
For x264 and x265, HandBrake recommends an RF range of 20–24 for 1080p sources. Start around RF 22, then adjust after watching a preview. Lower RF numbers mean higher quality and usually larger files; higher numbers favor compression. These values cannot be compared directly across different encoder families.
Use Constant Quality unless a delivery requirement specifies a bitrate. This approach varies bitrate according to scene complexity, so final file size cannot be predicted precisely. Fast motion, detailed textures, and film grain often need more data than static scenes.
Under frame-rate settings, check Same as Source when retaining original timing matters. Presets may also apply peak frame-rate limits for compatibility. If your recording is 60 fps, verify that the chosen limit does not unintentionally reduce it to 30 fps.
Step 5: Check Dimensions and Cropping
Open Dimensions and inspect the output resolution. For a standard 1920×1080 source, retaining that size avoids unnecessary downscaling. Reducing it to 1280×720 can save space but discards spatial detail.
HandBrake may detect black borders and suggest automatic cropping. Check the preview before accepting those values, particularly when the video contains subtitles near the edge, unusual framing, or intentional black areas. Cropping is not equivalent to compression: it removes pixels from the picture.
Step 6: Preserve Audio and Subtitles
In Audio, confirm the intended language and soundtrack are present. AAC stereo is a reliable choice for general sharing. If the source includes multiple languages or surround sound, add the required tracks explicitly; a preset may not retain them all.
Supported audio passthrough can copy an existing compressed audio stream without re-encoding it. However, the output container and player must support that codec. For maximum portability, an AAC track is often simpler than relying on specialist surround formats.
In Subtitles, choose the desired embedded track or import an external SRT file. A soft subtitle track remains selectable in compatible players. Burn In permanently places one subtitle track into the picture; viewers cannot disable it afterward.
MP4 cannot retain certain image-based subtitle streams, such as Blu-ray PGS, as selectable tracks through HandBrake. Burning them in is one option; choosing MKV may be preferable when keeping several original subtitle formats matters.
Worked Example: Converting a MOV Recording
Imagine a five-minute MOV recording captured at 1920×1080 and 30 fps, containing spoken narration and no subtitles. The goal is a conveniently playable MP4 for sharing, not a guaranteed minimum file size.
| Setting | Example choice | Reason |
|---|---|---|
| Container | MP4 | Widely supported delivery format |
| Preset | Fast 1080p30 | Matches source resolution and frame rate |
| Video | H.264 x264 | Broad playback compatibility |
| Quality | RF 22 | Starting point within official 1080p guidance |
| Audio | AAC stereo | Convenient general playback |
| Dimensions | 1920×1080 | Avoids unnecessary resizing |
These are proposed settings for a hypothetical file, not results from a performed benchmark. A grainy night recording may need different compression than a simple screen presentation. Compare short previews before selecting a final RF value.
Step 7: Preview, Export, and Verify
Click Preview to encode a short section containing representative motion, fine text, or difficult lighting. Inspect it at normal viewing size and compare against the source. If text looks blurred or motion breaks into blocks, lower the RF number slightly and test again.
Set the destination folder and output filename, checking the .mp4 extension. Press Start Encode and monitor the progress indicator. Encoding time depends on your computer, source complexity, filters, and chosen encoder.
When finished, open the output in the player or device that will actually be used. Check the beginning and ending, audio synchronization, subtitle behavior, framing, and file size. Only delete the original after confirming that the converted file meets your needs and another backup exists.
Common Problems and Practical Fixes
Video will not play: Confirm that the container is MP4 and the video codec is supported by the target device. Re-encode using H.264 and AAC if compatibility is uncertain.
Output is larger than expected: Inspect resolution, audio tracks, and RF quality. Try a slightly higher RF value, then compare previews. File size alone does not measure quality.
Audio or subtitles are missing: Return to the corresponding tabs, select the required tracks explicitly, and check whether the container supports them.
Conversion fails or stalls: Confirm free storage, try a different source, and inspect HandBrake’s Activity Log. A corrupted source or unsupported protected content may be responsible.
Frequently Asked Questions
Can HandBrake convert MKV, MOV, or AVI to MP4?
Yes, provided the source contains readable, supported media and is not protected by DRM. Compatibility with a particular file is not guaranteed.
Does converting to MP4 reduce video quality?
Usually some information is discarded during lossy re-encoding, even if the difference is difficult to see. Choose an appropriate quality setting and retain the original.
Is HandBrake completely free?
Yes. The official project offers free, open-source software without requiring payment or account registration.
Can HandBrake convert multiple videos?
Yes. Configure each source and add jobs to the queue, then process them together. Check settings on each job because source formats and requirements may differ.
Conclusion
Converting video to MP4 with HandBrake is straightforward when you understand the container, codec, quality, and track settings. Start with a compatible preset, preserve the media you need, preview difficult scenes, and verify playback. The most useful conversion is not necessarily the smallest file; it is one that works reliably for its intended audience.
Sources and References
- HandBrake — Official Downloads — current release and installation platforms.
- HandBrake Documentation — About HandBrake — capabilities, limitations, and video re-encoding.
- HandBrake Documentation — Quick Start — source selection, presets, and encoding workflow.
- HandBrake Documentation — Container Formats — MP4 and other containers.
- HandBrake Documentation — Adjusting Quality — constant quality, RF settings, and preview.
- HandBrake Documentation — Video Codecs — H.264, H.265, and encoding considerations.
- HandBrake Documentation — Audio Codecs — AAC and audio passthrough.
- HandBrake Documentation — Subtitles — SRT, soft subtitles, and burn-in restrictions.
- HandBrake Documentation — Frame Rate — source frame rate and preset limits.
- HandBrake Documentation — Previewing Your Settings — testing short sections before encoding.