
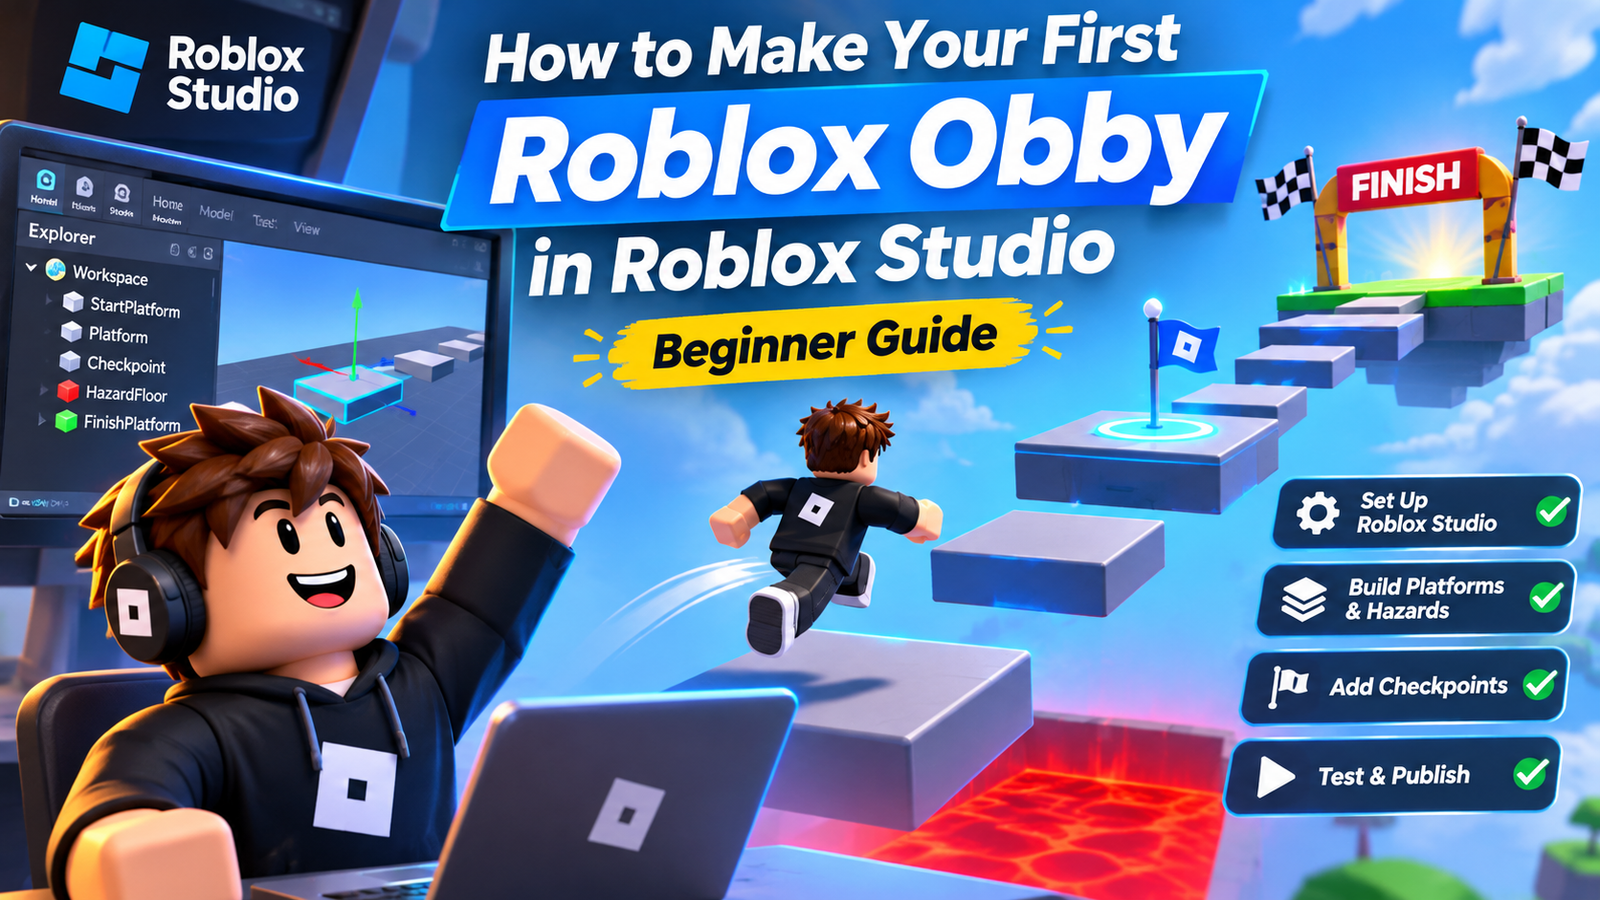
Building a Roblox obby teaches game development without requiring a complicated world. An obby, short for obstacle course, challenges players to jump between platforms, avoid hazards, and reach a finish line. You will build a playable course with checkpoints, two scripts, and a finish line. You will also test and save it. No paid assets or previous coding experience are required.
1. Install Roblox Studio
Roblox Studio is Roblox’s free game creation application for Windows and macOS. Download it from the official Roblox Creator Hub, run the installer, and sign in with your Roblox account. Roblox lists Windows 10 or macOS 10.14 as minimum operating system versions, with at least 3 GB of RAM.
Once Studio opens, locate Explorer, which shows every object in your game, and Properties, which controls the selected object’s settings. Enable missing windows from Studio’s Window menu.
2. Explore the Classic Obby template
On Studio’s opening screen, find the Classic Obby template. Roblox includes ready-made checkpoints, speed pads, jump pads, and hazards. Press Play to try the course, then Stop to return to editing. Inspect the objects in Explorer to see how a complete project is organized.
For the hands-on steps below, create a separate project using the Baseplate template. This avoids accidentally combining our checkpoint rules with scripts already inside Classic Obby. Our version will have its own platforms, hazards, checkpoints, and finish. Avoid importing unfamiliar Toolbox assets into your first playable project.
3. Build the starting platform and jumps
Select the existing SpawnLocation in Explorer and rename it StartSpawn. Insert a Block using the Part tool, then use Move and Scale to make a wide starting platform beneath the spawn. Place StartSpawn slightly above its surface, not inside it. Rename the platform StartPlatform.
Add another Block, make it roughly eight studs wide and eight studs long, and position it across a small gap. Duplicate it several times to create a line of jumps. Begin with gaps of approximately three studs between platform edges, then adjust them during testing. Adjust gaps through playtesting.
Delete the default Baseplate after your starting platform is secure. Otherwise, players who miss a jump may simply land on the ground below. Add a large hazard floor underneath your course later so falling has an immediate consequence.
Select each platform and confirm these settings:
| Property | Value | Why it matters |
|---|---|---|
| Anchored | True | Prevents the platform from falling |
| CanCollide | True | Lets players stand on it |
| CanTouch | True | Allows touch-based interactions when needed |
Color sections distinctly. Build a generous landing area after every difficult jump. Avoid decorating until the basic course is playable.
4. Create a working hazard
Insert a large red Block beneath the jumps. Name it HazardFloor, set Anchored to true, and keep CanTouch enabled. Its width should cover the areas where players might fall. Insert a regular Script inside HazardFloor and replace its contents with:
local hazard = script.Parent

hazard.Touched:Connect(function(hit)
    local character = hit:FindFirstAncestorOfClass("Model")
    local humanoid = character and character:FindFirstChildOfClass("Humanoid")

    if humanoid and humanoid.Health > 0 then
        humanoid.Health = 0
    end
end)
When a character touches this floor, the server sets its health to zero, triggering the normal death and respawn process. Loose parts are ignored. Use a server Script, not a LocalScript, so the result is handled consistently for players.
5. Add checkpoints without complicated code
Checkpoints should make failure less frustrating. The safest beginner setup uses Roblox’s Team and SpawnLocation features rather than a custom save system. We will create two checkpoints, each assigned to a different team.
In Explorer, locate the Teams service and add three Team objects named Start, StageOne, and StageTwo. Give each a distinct TeamColor. Enable AutoAssignable only for Start; disable it on the other two teams. This ensures new players join the starting team instead of randomly appearing halfway through the course.
Set StartSpawn’s Neutral property to false and match its TeamColor to Start. Keep its AllowTeamChangeOnTouch disabled. Next, place one new SpawnLocation on a wide platform after your first jumps and another farther along the course. Rename them CheckpointOne and CheckpointTwo.
Configure both checkpoint spawns as follows:
| Setting | CheckpointOne | CheckpointTwo |
|---|---|---|
| Neutral | False | False |
| TeamColor | Match StageOne | Match StageTwo |
| AllowTeamChangeOnTouch | True | True |
| Anchored | True | True |
| Enabled | True | True |
Now touching CheckpointOne changes the player’s team to StageOne. After dying, they respawn at that team’s matching location. CheckpointTwo does the same for StageTwo. This behavior comes from built-in Roblox properties; you do not need another checkpoint script.
Important limitation: this setup remembers progress during the current session, not across visits. Walking back onto an earlier checkpoint can also move a player backward. Persistent stages require additional scripting and data storage, which is beyond this first project.
6. Make one platform disappear
Select one jump platform, insert a Script inside it, and paste the following code:
local platform = script.Parent
local busy = false

platform.Touched:Connect(function(hit)
    local character = hit:FindFirstAncestorOfClass("Model")
    if busy or not character or not character:FindFirstChildOfClass("Humanoid") then
        return
    end

    busy = true
    task.wait(0.5)
    platform.Transparency = 0.8
    platform.CanCollide = false
    task.wait(2)
    platform.CanCollide = true
    platform.Transparency = 0
    busy = false
end)
Once a character touches the platform, it waits briefly, becomes mostly transparent, and stops supporting players. Two seconds later it returns. The busy variable prevents overlapping countdowns. Remember that this platform changes for everyone in the server, so avoid placing it directly underneath a checkpoint.
7. Build an obvious finish line
At the end of the course, add a large green Part named FinishPlatform. Make it Anchored and solid. Add a visible FINISH sign using a BillboardGui with a TextLabel, or place large decorative letters nearby. The goal should be recognizable before the final jump.
This first version counts completion when a player physically reaches the end; it does not award coins, badges, or persistent wins. Those features require separate systems. Keeping them out makes your first obby easier to understand and troubleshoot.
8. Test the entire player journey
Choose Test or Play in Studio, which spawns your avatar. Do not choose Run for jump testing because Run starts the simulation without a character. Try the following checks in order:
- Spawn at the starting platform, never a later checkpoint.
- Cross every gap without relying on impossible jumps.
- Touch CheckpointOne, fall onto HazardFloor, and reappear at CheckpointOne.
- Reach CheckpointTwo, die again, and reappear there.
- Step onto the disappearing platform and observe its timing.
- Reach FinishPlatform without becoming trapped.
If anything fails, open the Output window and look for script errors. Also try Server & Clients testing to check multiplayer behavior. Studio’s Device Simulator helps you inspect layouts on smaller screens, although actual device testing remains valuable.
9. Fix common Roblox obby problems
| Problem | Likely cause | What to check |
|---|---|---|
| Platforms fall | Anchored disabled | Enable Anchored |
| Players pass through | CanCollide disabled | Enable CanCollide |
| Hazard does nothing | Script or touch issue | Check Script, CanTouch, Output |
| Spawn starts midway | Incorrect teams or neutral spawns | Verify AutoAssignable, Neutral, TeamColor |
| Checkpoint fails | Mismatched team colors | Match TeamColor exactly |
Always change one setting at a time, then retest. This makes problems easier to isolate than rebuilding an entire stage. If you copied objects from the Classic Obby template, inspect their existing scripts before adding new behavior.
10. Save and publish your obby
Select File > Publish, enter a useful game name and description, and save the experience to your Roblox account. Publishing to Roblox’s cloud does not automatically make the game accessible to everyone. New experiences begin with restricted access.
Public release has additional eligibility requirements. Roblox currently distinguishes releases for age-checked players aged 16 and older from broader access, including younger audiences. Depending on your intended audience, you may need age verification, two-factor authentication, a content questionnaire, an eligible subscription or refundable publishing fee, and evaluation. Review the current requirements in Creator Hub before attempting a public launch.
Save changes frequently. A cloud copy protects your project between sessions, but publishing does not guarantee visits, popularity, or earnings.
Frequently Asked Questions
Is Roblox Studio free?
Yes. Studio is free to install and use. Public release eligibility and optional purchases are separate matters.
Do I need to learn Lua first?
No. Roblox uses Luau, a language based on Lua. You can begin by understanding what each short script changes and testing it.
Why do I respawn at the wrong checkpoint?
Check that only Start is automatically assignable, each spawn is nonneutral, and TeamColor values match their corresponding teams. Remove unintended extra SpawnLocations.
Will checkpoints save after I leave?
Not with this simple team-based approach. Returning players begin from the start unless you later implement persistent progress saving.
Conclusion
Your first obby now has a starting point, jump challenges, a death hazard, functioning checkpoints, a disappearing platform, and a finish line. More importantly, you understand the properties and scripts behind those mechanics. Test each change, keep progression fair, and improve the course gradually instead of adding complexity before the basics work.
Sources and References
- Roblox Studio setup — installation and system requirements.
- Roblox Studio templates — Classic Obby and Baseplate templates.
- Parts — Anchored and CanCollide properties.
- Implement teams — team assignment and team spawn behavior.
- SpawnLocation reference — checkpoint touch and spawning properties.
- Collisions — touch events and CanTouch.
- Script types and locations — server Script versus LocalScript.
- Studio testing modes — avatar, multiplayer, and device testing.
- Create and publish games and places — saving, release requirements, and audience access.